
| Having trouble reading this newsletter? Click here to see it in your browser. You are receiving this newsletter because you signed up from our web site. Click here to unsubscribe. |
 |
|
Welcome to the In this Issue
Tip of the Month The Heat Tool can be used to gently and cleanly raise items that have been attached with glue dots, sticky tape or snail. Noteables More Project Samples 
Coming soon: Online Ordering! 
Stampin' Up! partners with Sizzix |
September Season 
Nothing signals the end of summer for me more than eating sweet corn. Although I am a little biased - as a born and raised Iowa Girl. Even our weather lately has been summer-ending weather: still warm, and just a little more humid than is comfortable, but early morning and late evening is heavenly. I know this time of year is also Back To School season. And while my kids aren't old enough for school yet, it seems like there is a collective sigh from all the parents that have had their kids home all summer. Everything is shifting back into a routine. For some people, a routine is not necessary. But, for people like me, getting that routine back makes a big difference in productivity. I love my schedule - I wish my kids did. :) Anyway, I hope you enjoy this issue of the Crazy Stamp Girl Newsletter. I hope now that summer is ending, I can make this a regular monthly part of the Crazy Stamp Girl blog. I appreciate all of you reading and following the blog - thanks for making it fun. Have a great September and Happy Stamping! The Tool Box: Heat Tool .jpg)
“This high-quality heat tool makes embossing quick and easy. You can also use this handy tool to heat set pigment inks on glass and cloth. Stampin’ Up!’s heat tool is one of the best on the market today.” - from the Stampin' Up!(R) Product Guide The heat tool runs at 360 watts and heats up to 572 degrees Farenheit (300 degrees Celsius). It melts Stampin' Emboss(R) powder and Heat & Stick powder and will heat-set pigment inks. It also comes with a 1 year manufacturer's warranty on workmanship and defects. I love the SU Heat Tool because it heats up and cools down quickly. It doesn't take up a lot of room in my drawer and is quick to set up and use. In addition to embossing, you can also use the Heat Tool for things like stamping on candles, shrinking shrink plastic and so many more. And, while I've never tried this one myself, I've been told you can use it to toast marshmallows for indoor s'mores. Embossing with Classic Ink 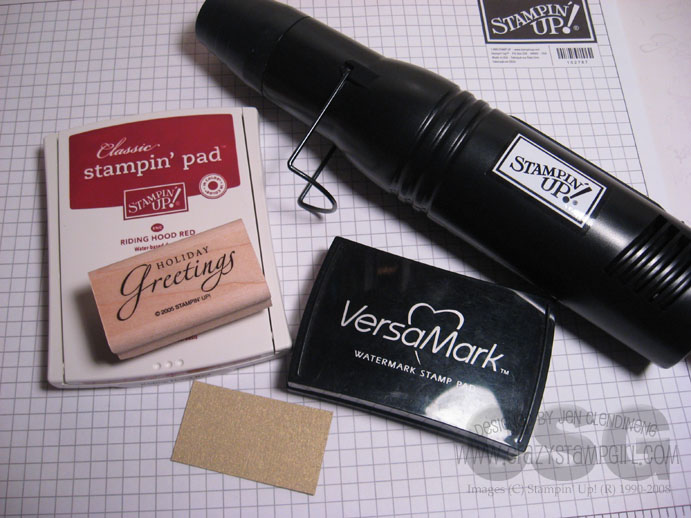 First thing's first: find your supplies. You'll need: * Heat Tool * Powder Pals (or a scrap paper to catch the embossing powder) * Embossing Buddy * Clear embossing powder * Versamark Ink Pad * Classic Ink Pad of your choice * Stamp & Paper 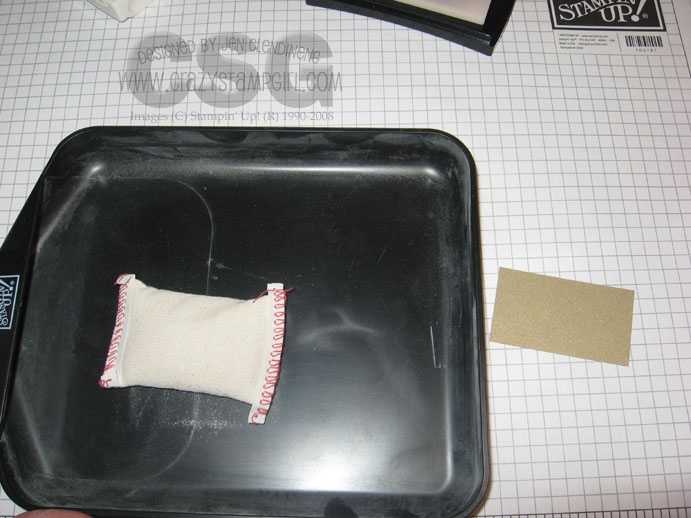 1) Rub down the powder tray with your embossing buddy. Then rub the card stock you'll be stamping on. This will eliminate the residue oil from your hands on the card stock that may cause stray powder to stick to it. 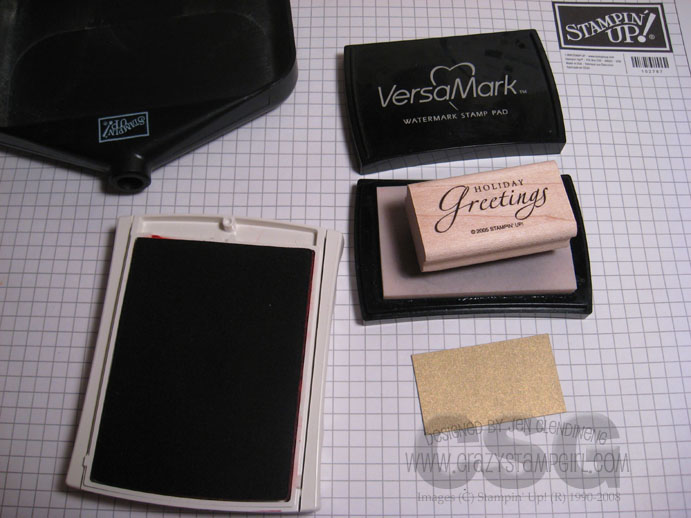 2) Ink up your stamp first in the Versamark ink pad. 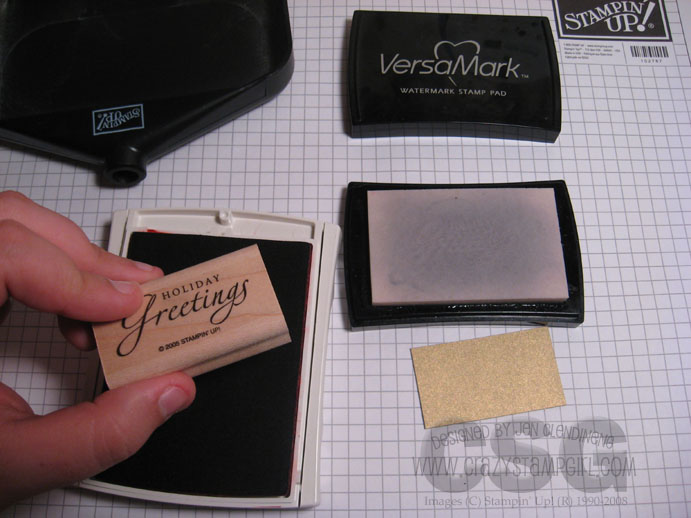 3) Now ink the image up in the classic (dye) ink. DO NOT clean the stamp in between. Go immediately from the Versamark to the Classic ink pad. 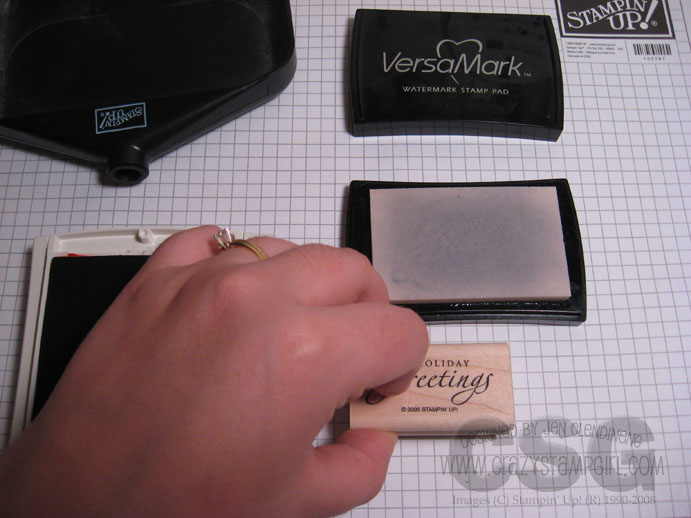 4) Stamp the image on the card stock. 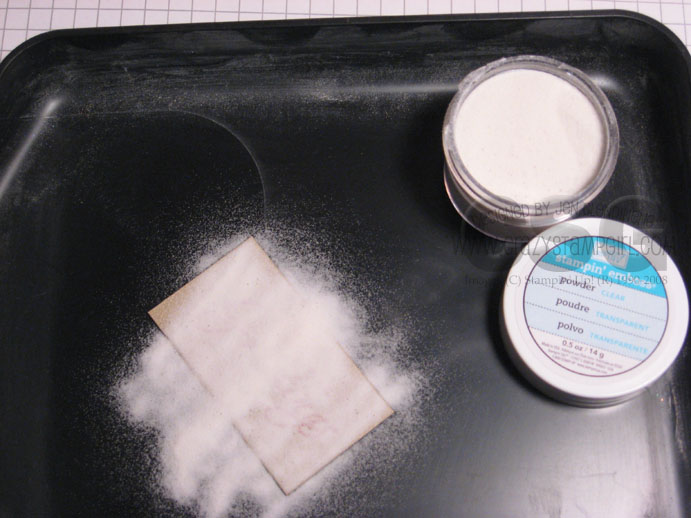 5) Quickly set your card stock in the powder tray and cover it with clear embossing powder. Since dye ink dries more quickly than pigment ink, you won't have as much time to get the embossing powder on the image before it dries.  6) Pick up your card stock and tap it on the tray to shake loose any excess powder. 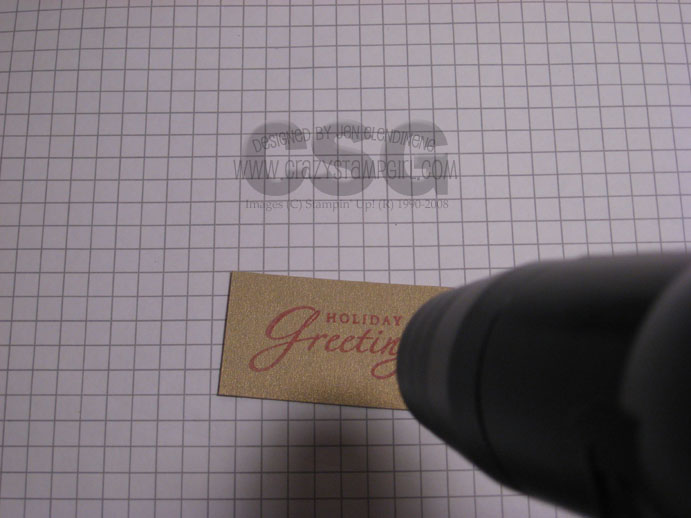 7) Using your Heat Tool, heat the image until the powder begins to look smooth and shiny. If you need to hold your card stock still while you're heating it, use the eraser end of a pencil or a pair of tweezers. It will be too hot to hold with your fingers. 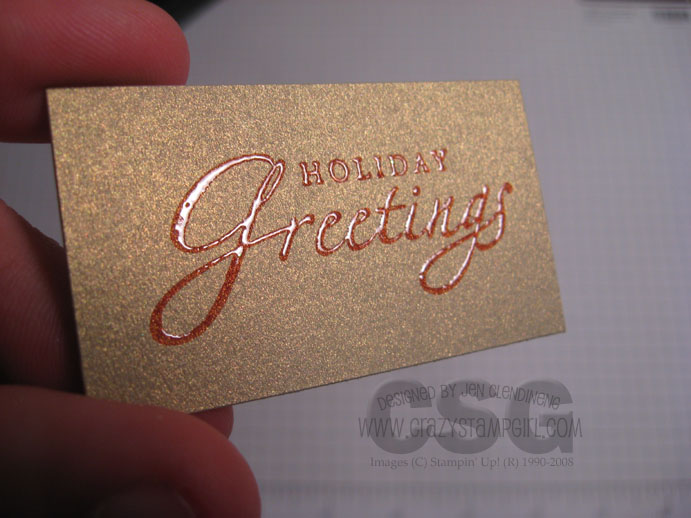 8) Once you're done heating you can pick up your image and finish your card. The clear embossing powder allows you to see the classic ink color, but with the embossed look and feel.  9) Finished product! |